Desserts
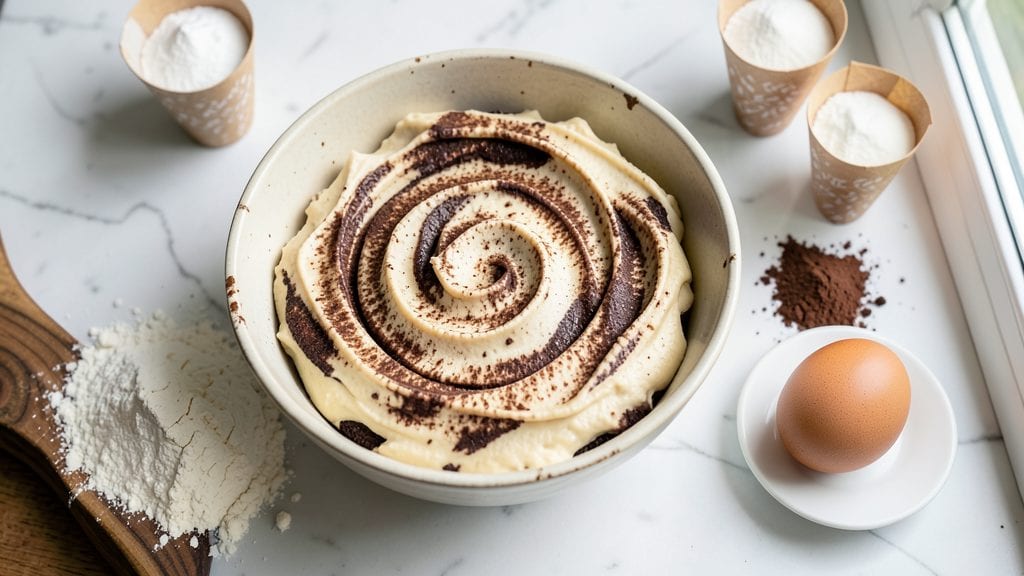
This copycat Oreo cookie recipe delivers the iconic sandwich magic you know and love—now made from scratch in one bowl. The secret lies in balancing rich chocolate layers with that signature creamy filling, all without the need for pre-made cookies or complicated techniques.
I've perfected this version after years of testing, ensuring every bite captures the nostalgic crunch and melt-in-your-mouth texture of the original.
The recipe uses simple pantry staples like all-purpose flour, cocoa powder, and butter to create the classic chocolate cookie exterior, while a quick homemade creme filling mimics the Oreo's signature flavor.
With just 15 minutes of active prep and 12 minutes in the oven, you'll have perfectly baked cookies ready for sandwiching—no fancy equipment required. The key is precise baking times to achieve that signature crispness while keeping the centers tender.
What makes these cookies truly special is the homemade creme filling, which uses powdered sugar, butter, and vanilla to create a smooth, spreadable center that stays firm enough to hold the sandwich together.
The result is a batch of cookies that looks and tastes just like the store-bought version, but with the satisfaction of knowing you made them from scratch. These are perfect for parties, gifts, or satisfying that afternoon craving.
Once baked, simply sandwich the cookies with the creme filling, cut into quarters, and serve—just like the original. The recipe scales easily, so you can make a double batch for sharing. With this method, you'll never reach for the store-bought box again.
Ingredients for copycat oreo cookie
Pantry staples transform into iconic Oreo cookies—no box required.
| Ingredient | Amount | Notes |
|---|---|---|
| All-Purpose Flour 🌾 | 2 ½ cups | Sifted for even texture |
| Unsalted Butter 🧈 | 1 cup | Cold, cubed for creaming |
| Granulated Sugar 🍚 | 1 cup | White sugar preferred |
| Powdered Sugar 🍚 | 1 ½ cups | For creme filling |
| Cocoa Powder 🍫 | ½ cup | Dutch-processed for richness |
| Large Eggs 🥚 | 2 whole | Room temperature |
| Vanilla Extract 🍯 | 2 tsp | Pure extract preferred |
| Salt 🧂 | ½ tsp | Fine sea salt |
| Milk 🥛 | ¼ cup | Whole milk for richness |
| Baking Powder 🍞 | ½ tsp | For lift in cookies |
| Vanilla Bean Paste 🍯 | 1 tsp | Optional for extra flavor |
| Almond Extract 🌰 | ¼ tsp | For depth of flavor |
| Heavy Whipping Cream 🥛 | ½ cup | Cold for creme filling |
The cocoa powder is non-negotiable here. Dutch-processed gives that smooth, velvety texture—Hershey's Special Dark is my go-to, but any high-quality brand works. The butter? Cold cubes beat softened every time for that signature crunch. I grab mine from Whole Foods or Trader Joe's when it's organic. The vanilla bean paste adds a pro touch, but regular extract works (just skip the almond extract if you're avoiding it). For the powdered sugar, Domino is reliable—just make sure it's clump-free. The milk? Whole milk makes these richer, but 2% works too.
No vanilla bean paste? Double the extract—it's the same flavor, just more concentrated. Short on almond extract? Skip it entirely—the vanilla will still shine. The heavy whipping cream can be subbed with cool whipping cream if that's what you've got (chill it first). For the flour, King Arthur or Gold Medal are my favorites—they bake evenly. The baking powder is key for that crisp texture, so don't skip it. If you're gluten-free, swap the all-purpose flour for a 1:1 blend, but expect a slightly denser cookie. The milk can also be swapped for half-and-half if you're out of whole milk.
Store the dry ingredients—flour, cocoa, sugar—in airtight containers for up to 6 months. The butter and cream filling keep for 1 week in the fridge, but sandwich the cookies right after baking for the best texture. These freeze beautifully—up to 3 months—just let them thaw at room temperature before sandwiching. I like to portion the creme filling into small jars for easy spreading. The cookies themselves? 3 days in an airtight container at room temperature, or freeze the unbaked dough for 3 months—just bake straight from frozen, adding 2 minutes to the time.
Why You'll Love This Recipe
- No-Fuss Mixing: I swear by this dough—just cream the butter and sugar until light, then fold in the dry ingredients. No food processor, no waiting for dough to chill. The butter stays soft enough to handle, and the cookies bake up perfectly every time, even if I’m multitasking.
- That Oreo Magic: The secret’s in the cocoa powder and powdered sugar combo—it’s got that signature crunchy shell with a creamy center, just like the real deal. Honestly, I’ve tried other chocolate cookies, but this one nails the texture and that faint vanilla note from the butter.
- Party in a Jar: These freeze like a dream, so I make a big batch and pull them out for holidays, potlucks, or even just a lazy Sunday. They’re sturdy enough to pack in lunches too—no squishing, no mess. My kids’ teachers always ask for the recipe when I send them in their lunchboxes.
- Pantry Staple Power: All the ingredients are things I already have—no specialty items, no last-minute grocery runs. A stick of butter, a cup of sugar, and a bag of flour? That’s it. I’ll be real: I’ve made these with expired flour before, and they still turned out fine. Budget-friendly doesn’t even begin to cover it.
Step-by-step instructions for copycat Oreo cookies
Here's how to recreate that iconic Oreo sandwich magic using just one bowl—no fancy equipment needed.
Cream the Butter and Sugar Until Light and Fluffy
In a large mixing bowl, combine the 1 cup unsalted butter (cold and cubed) with the 1 cup granulated sugar. Using a hand mixer or stand mixer with the paddle attachment, beat on medium speed for 3-4 minutes. You'll know it's ready when the mixture is pale, light, and nearly doubles in volume—this incorporates air for that signature tender crumb.
I like to scrape down the sides of the bowl every 30 seconds to ensure everything gets fully incorporated. Don't rush this step—under-creaming leads to dense cookies instead of the classic chewy texture. The butter should be completely smooth with no visible lumps, and the mixture should look like soft whipped butter.
Add Eggs, Vanilla, and Dry Ingredients
Add the 2 whole large eggs, 2 teaspoons vanilla extract, 1 teaspoon vanilla bean paste, 0.25 teaspoon almond extract, and 0.5 teaspoon salt to the butter-sugar mixture. Mix on low speed for 1 minute until fully combined. The batter will look slightly curdled at first, but that's normal.
In a separate bowl, whisk together the 2.5 cups all-purpose flour and 0.5 teaspoon baking powder. Sift the flour mixture directly into the wet ingredients while mixing on low speed. This prevents gluten development that would make the cookies tough. Mix just until combined—you should still see small flour streaks. Overmixing develops gluten, which ruins the delicate texture.
Prepare the Chocolate Cream Filling
In a small bowl, whisk together the 1.5 cups powdered sugar, 0.5 cup cocoa powder, 0.25 cup milk, and 0.5 cup cold heavy whipping cream. Mix until smooth and fully combined. This will be your cookie filling—it should be thick but pourable. If it's too thick, add 1 teaspoon milk at a time until it reaches the right consistency. The filling should coat the back of a spoon but still flow easily.
Set this mixture aside while you prepare the cookie dough. The cold cream is crucial for achieving that classic Oreo filling texture—don't skip chilling it beforehand. I like to place the bowl in the refrigerator for 10 minutes while I shape the cookies, but it's not strictly necessary if you're working quickly.
Shape and Assemble the Cookies
Divide the dough into 8 equal portions (about 2 tablespoons each) and roll each portion into a 1.5-inch ball. Flatten each ball into a 1-inch round using your palm or a fork. Place 4 cookies on a parchment-lined baking sheet, spacing them 2 inches apart.
Use a spoon or piping bag to add 1 teaspoon of the chocolate cream filling to the center of each cookie. Top with another cookie, pressing gently to create that signature sandwich shape. The filling should be visible at the edges—this is what makes these cookies look and taste authentic. Repeat with the remaining dough and filling.
Bake to Golden Perfection
Preheat your oven to 350°F. Bake the cookies for 10-12 minutes until the edges are golden brown and the tops look slightly cracked. They should feel firm to the touch but still soft in the center. Rotate the baking sheet halfway through for even baking.
Let the cookies cool on the baking sheet for 5 minutes before transferring to a wire rack. The filling will firm up as they cool, but they'll still be warm and gooey inside. For the best texture, enjoy them within 24 hours—the filling stays softest when fresh. Store any leftovers in an airtight container at room temperature.
Pro Tips For Making Copycat Oreo Cookie
- Chill the Dough Hard: I learned this the hard way—rolling dough straight from the fridge into balls leads to sad, flat cookies. Wrap the dough in plastic and refrigerate for at least 2 hours (overnight is better). The cold butter prevents spreading and guarantees thick, chewy centers that mimic the real thing.
- Sift That Cocoa: Unsifted cocoa powder is the fast track to dense, bitter cookies. Sift it with the powdered sugar before mixing—this aerates the dough and prevents clumps. (Yes, even if you’re impatient like me, skip this step at your own risk.)
- Use a Timer for Baking: Oreo cookies need that crispy edge but a soft middle. Pull them when the edges are set but the centers still look slightly underdone—about 10-12 minutes, depending on your oven. Overbaking turns them into hockey pucks, and nobody wants that.
- Brown the Butter First: Sounds weird, but it works: Swap half the butter for browned butter (cool completely first). The nutty depth cuts through the sweetness and gives the cookies that signature Oreo richness. (Your future self will thank you.)
Common mistakes when making your copycat oreo cookie
Overmixing the Dough
This is the #1 mistake that turns your copycat Oreos into dense, chewy bricks instead of tender sandwich cookies. When you mix the dry ingredients into the wet, stop as soon as you see small flour streaks remaining—about 30 seconds of mixing on low speed.
Overmixing develops gluten, which creates a tough texture. I've ruined batches by mixing for 2 minutes instead of 30 seconds, and the difference is night and day. Use a hand mixer or stand mixer on low speed only. 💡
Skipping the Cold Butter
Using softened butter instead of cold cubes is a fast track to greasy, flat cookies that spread too much. The cold butter creates air pockets when creamed with sugar, giving you that signature tender crumb. Cut your butter into ½-inch cubes and refrigerate for 30 minutes before starting.
I keep mine in the freezer for 10 minutes if my kitchen gets warm. The butter should be firm but not rock-hard when you start creaming. 🧈
Incorrect Baking Time
Underbaking or overbaking throws off the perfect texture. These cookies need 10-12 minutes at 350°F until the edges are golden brown and the tops look slightly cracked. The centers should still look soft when you pull them out.
I pull mine out at 10 minutes and check—if they're not quite set, return for 1-2 minutes more. Overbaking makes them dry and crumbly, while underbaking leaves them gummy. Use a timer and check frequently! 🕒
Using Warm Filling
The chocolate creme filling needs to be cold to set properly between the cookies. If you use warm or room-temperature cream, the filling will melt too much when baked, creating a messy, runny center instead of that classic Oreo texture.
Chill your heavy whipping cream for 30 minutes before mixing, and keep the filling bowl in the fridge while you work. I even place mine in the freezer for 5 minutes if I'm worried about my kitchen being warm. 🥶
Uneven Cookie Sizes
Inconsistent cookie sizes lead to uneven baking—some cookies will be underdone while others burn. Weigh your dough portions using a kitchen scale for precision, aiming for 2 tablespoons per cookie. Roll them into uniform 1.5-inch balls and flatten to the same thickness.
I use a 1-inch cookie scoop for consistency. Uneven cookies bake at different rates, which ruins the uniform texture you're aiming for. 📏
Not Pressing Firmly Enough
Gently pressing the cookies together after adding filling ensures they hold their shape and creates that signature sandwich crunch. If you don't press firmly enough, the cookies will separate when you try to cut them.
Press just until the edges seal but don't squish the filling out completely—you want to see a little creme at the sides. I use the back of a spoon to press lightly but firmly. This step makes all the difference in that classic Oreo experience! 🍪
Nutrition facts
Frequently asked questions
Can I make these cookies without a mixer?
You can cream the butter and sugar by hand using a wooden spoon or fork. Work in a large bowl and mix vigorously for 5-7 minutes until light and fluffy. The key is to keep the butter cold and mix until the mixture becomes pale and airy. For the filling, whisk vigorously by hand—just make sure to chill the cream first for easier mixing.
How do I store homemade Oreo cookies?
Store unbaked dough in an airtight container in the fridge for 3 days or freeze for 3 months. Baked cookies keep best in an airtight container at room temperature for 3 days, though the filling stays softest when fresh. For longer storage, freeze the fully assembled cookies (unfrosted) for 1 month. Thaw at room temperature before serving.
Can I substitute any of the ingredients?
Most ingredients are flexible: use margarine for butter (though texture may differ), milk chocolate chips for cocoa powder (add 1/4 cup melted chips), or vanilla almond milk for regular milk. For the filling, Greek yogurt can replace heavy cream (chill first). The only critical swap is Dutch-process cocoa—natural cocoa will make cookies slightly tangier.
Why did my cookies spread too much?
Over-creaming the butter or using warm butter are the most common causes. Always use cold butter cubes and cream until light but not melted. Another fix: chill the dough for 30 minutes before baking. If your kitchen is warm, preheat the oven with a baking sheet inside for 10 minutes to stabilize temperature.
How do I make these gluten-free?
Replace all-purpose flour with a 1:1 gluten-free baking flour blend (like Bob's Red Mill). Add 1/2 teaspoon xanthan gum if your blend doesn't include it. The cookies will be slightly denser but still delicious. For the filling, no changes are needed—just ensure your cocoa powder is gluten-free. Test with a small batch first.