Main Courses
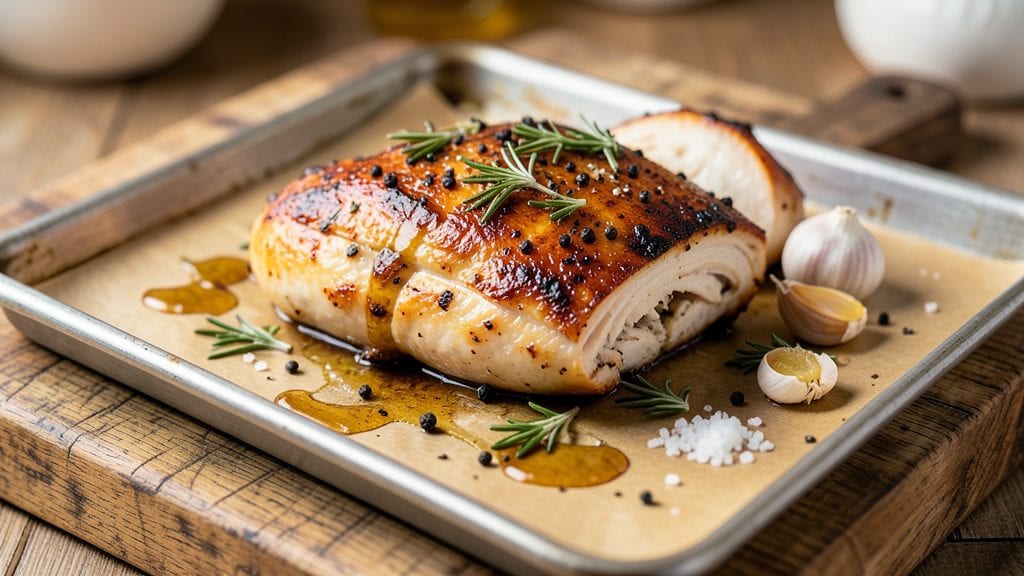
Baking chicken on a cookie sheet works perfectly for crispy, even results by preheating your oven to 400°F, patting the chicken dry, seasoning generously, and placing it on a wire rack over the sheet to avoid soggy spots. Cook thighs for 20-25 minutes or breasts for 15-18 minutes, flipping halfway through.
This method leverages the sheet's ability to distribute heat evenly, while the wire rack creates crucial airflow underneath the chicken. 🔥 The high temperature ensures a crispy exterior without drying out the meat, and the rack prevents the chicken from steaming in its own juices.
I've found this approach especially useful for weeknight meals when I need a hands-off, foolproof technique that still delivers restaurant-quality results.
For extra flavor, try a simple marinade of olive oil, garlic, and lemon juice before seasoning, or use a dry rub with smoked paprika and brown sugar for a caramelized crust.
The key is to let the chicken rest for 5 minutes after baking—this keeps it juicy while you finish your sides.
💡 In This Article
- Why Baking Chicken on a Cookie Sheet Works Best
- Best Seasonings and Cooking Hacks for Sheet-Pan Chicken
Why baking chicken on a cookie sheet works best
The secret to perfectly baked chicken on a cookie sheet lies in how heat behaves when it meets metal and air. A cookie sheet—especially a heavy-gauge one—conducts heat quickly and distributes it evenly across its surface.
At 400°F, the oven's dry heat caramelizes the chicken's proteins on the surface, creating that coveted crispy texture. This temperature is ideal because it's hot enough to brown the skin in 15-25 minutes but not so intense that it dries out the meat before the center reaches 165°F.
The wire rack is where the real magic happens. When chicken sits directly on a sheet, its juices pool underneath, creating a steam bath that turns the bottom into a soggy mess. A rack elevates the meat, allowing hot air to circulate beneath it.
This airflow prevents moisture buildup, ensuring the chicken stays crispy all over—not just on top.
Think of it like the difference between a perfectly seared steak and one that's been steamed in its own juices. 🔥 The rack also helps the chicken brown more evenly, since heat can reach all sides simultaneously.
Preheating the oven is non-negotiable for consistent results. When you slide that sheet into a cold oven, the chicken cooks unevenly—some parts get overdone while others stay undercooked. A fully preheated oven ensures the 400°F temperature is stable from the moment the chicken goes in.
Most ovens take 15-20 minutes to reach temperature, so plan ahead. Pro tip: Place the rack on the middle shelf for even heat exposure, as the top rack can be too hot and the bottom too cool in many ovens.
Here's what's happening at the molecular level: The high heat causes the chicken's surface proteins to denature and form a crust, locking in moisture. Meanwhile, the fat in the skin renders out, adding flavor and contributing to that golden-brown finish.
Without proper airflow (thanks to that rack), the skin would soften from trapped steam, ruining the texture.
The dry heat also helps evaporate excess moisture from the surface, which is why patting the chicken dry before seasoning makes such a difference—it gives the seasonings something to adhere to and prevents a watery crust.
For extra crispiness, consider this pro move: After flipping the chicken halfway through baking, place a second wire rack on top of the sheet. This creates a "tent" that allows even more air circulation, preventing the top from drying out while the bottom continues to crisp.
It's a small tweak that makes a big difference, especially for thicker cuts like thighs. The result? Chicken that's crispy on the outside, juicy on the inside, and ready in one pan—no fuss, no mess, just flavor. ✨